Building A Bead Seat | |
| Part I -- Pouring the Seat This is the first “Bead Seat” we’ve built. In the Cougar, we had a Momo carbon fiber seat and in the SRF, we had what they gave us. For this car, however, it's clear that for both performance reasons (better driver “feel” of the car) and safety reasons (the bead seat provides some “give” slowing down the energy transmission in a crash) we wanted a bead seat. The bead seat kit consists of 3 basic parts...a vacuum bag, a bunch of plastic “beads” about the size of BB’s and a 2-part epoxy resin. We purchased a Pennon Composites B3-XL seat kit. What follows are the pictures we took during our seat construction. | |
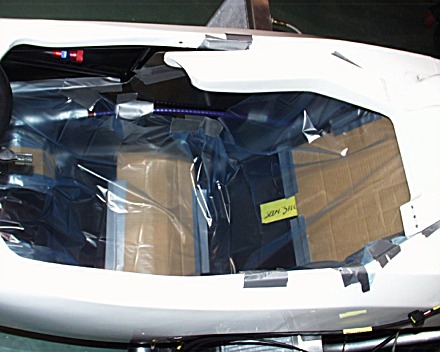
| Prepping the Chassis The first step was to remove the stock “seat” (a plastic injection molded thing) and cover up the “sharp edges” of the cockpit...and provide some “ramping” for chassis floor tubes. Cover the sharp edges so you don’t puncture the seat vacuum bag. Ramp the chassis tubes so you don’t mold the seat to tightly to the chassis (so you can't remove it when it hardens).
The picture at right shows the duct tape used to hold Pennon’s “anti-puncture” plastic cover in place. The duct tape also covers specific sharp edges. The cardboard you see are the “ramps” over the chassis tubes and another leading up to the battery cover.
And here’s another shot of the same process...looking rearward.
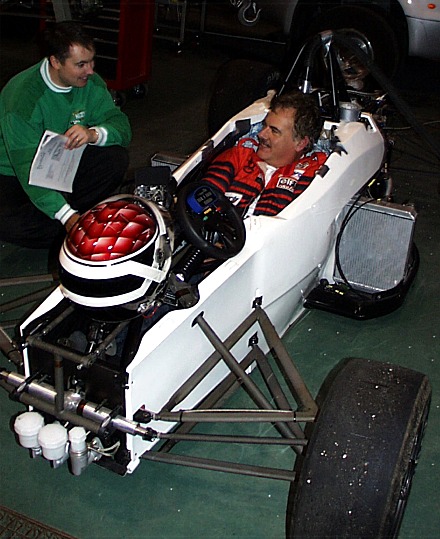
In this picture, Robert (in the car) is asking John Church (outside the car) for instructions on how to get out of the car (note the “Formula Car Exit Instructions” in John’s hand). Actually, they’re discussing the “fit” of the seat and how to distribute the beads before we put in the resin.
This process, adding and removing beads, moving them around and then trying the fit took about 10 attempts before Robert felt right in the car.
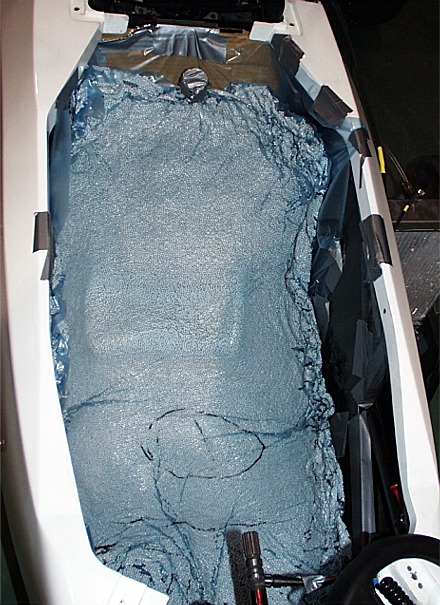
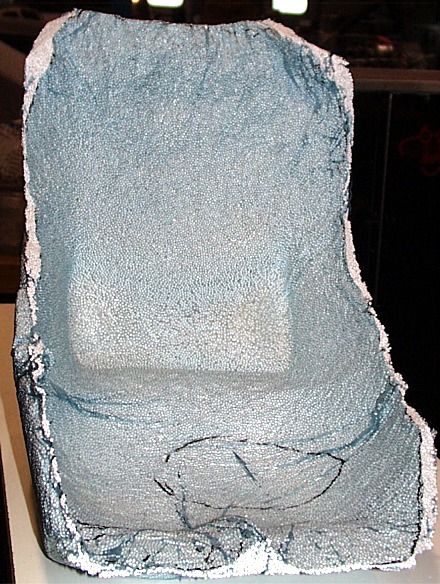
Forty five minutes after putting the resin in the bag and putting both the bag and Robert in the car, we now have our rough seat. You can see the taped up neck at the top of the seat. This is where the vacuum cleaner is connected to pull a vacuum on the seat while the seat consolidates (i.e. the resin sets-up around the beads). The vacuum is critical to ensure the removal of voids in the seat.
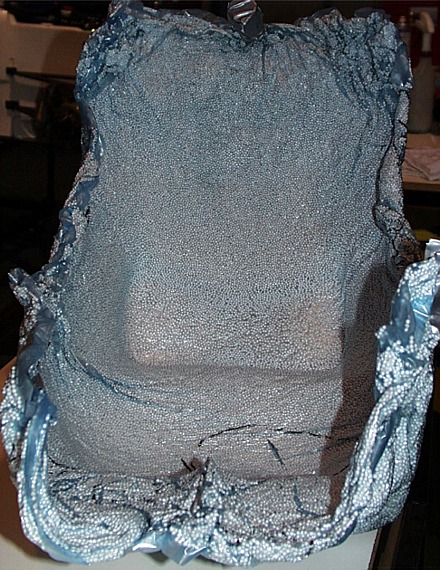
And here is the rough seat removed from the car. One good things about the large size of the FSCCA cockpit is that you can remove the seat in a single piece rather than having to split it in two (like on a Zetec car).
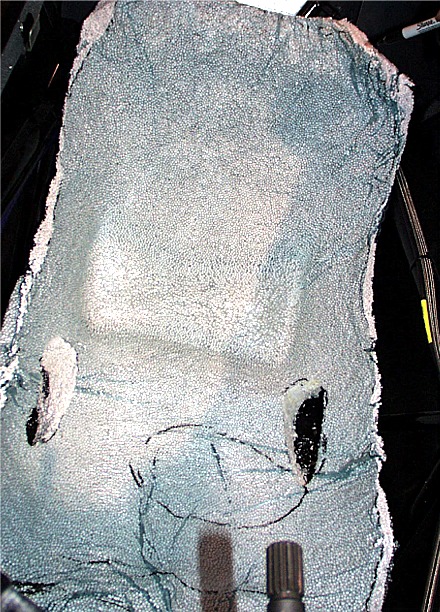
And finally, here’s the seat with most or the “rough stuff” trimmed away.
Robert came up during early March and put some more work into the seat. Here's how he cut out the holes for the seat belts. He's got the seat at his house now, and I look forward to a finished covered seat in the next week or so. | |
| Part II -- Finishing the Seat | |
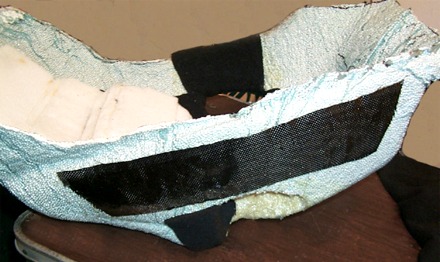
| Finishing the Seat The first thing Robert did was to put some reinforcement in place around the seat belt openings and on the thinner sides of the seat
This shot shows those reinforcements. Robert used some carbon fiber left over from our World Challenge days.
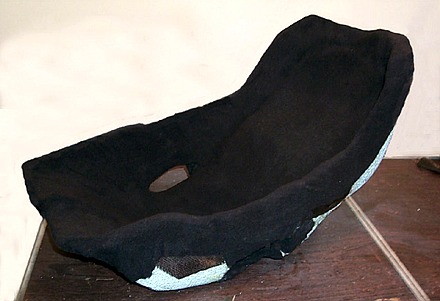
Then, using contact adhesive, Robert applied the fabric to the seat. He also added some foam padding to some low spots.
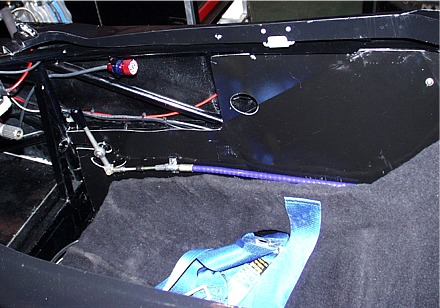
And here's the seat in the car with the seat belts installed. In this picture you can also see one of the neat cockpit sides we got from Comprent. These installed easily (we used 10-32 nut-serts) and are a nice safety addition to the car. We've got one more step...and that is to coat the back side of the seat with truck liquid bed-liner material to help keep everything consolidated.
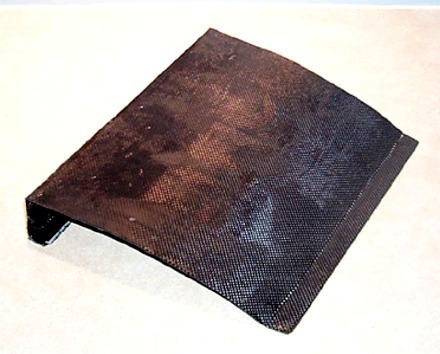
While he had the carbon fiber out, Robert made up this neat little cover to go over the data logger and its wiring (which is installed on the floor, just in front of the front roll hoop). The idea is to protect the equipment and keep the driver from getting his feet tangled in the wiring. You can just see the edge of this cover in the picture above. I know Robert made a mold so I'm sure you could bribe him into making one for you.
| |
Saturday, February 12, 2011
For Performance & Safety Reasons Customer Pours A BSS Seat Kit for their FSCCA Car

Subscribe to:
Post Comments (Atom)
1 comment:
Indispensable to homosapians today, it is impossible to overestimate its impact on modern thought. The juxtapositioning of Car Covers with fundamental economic, social and political strategic conflict draws criticism from the easily lead, who form the last great hope for our civilzation. Hold onto your hats as we begin a journey into Waterproof car cover .
Post a Comment